

Nicknamed the “Whiskey” route because the route is popularized as somewhat difficult and more expensive than Marangu route.
On an overall comparison of the routes to scale Kilimanjaro, this is one of the best routes to take, both in terms of acclimatization and cost.
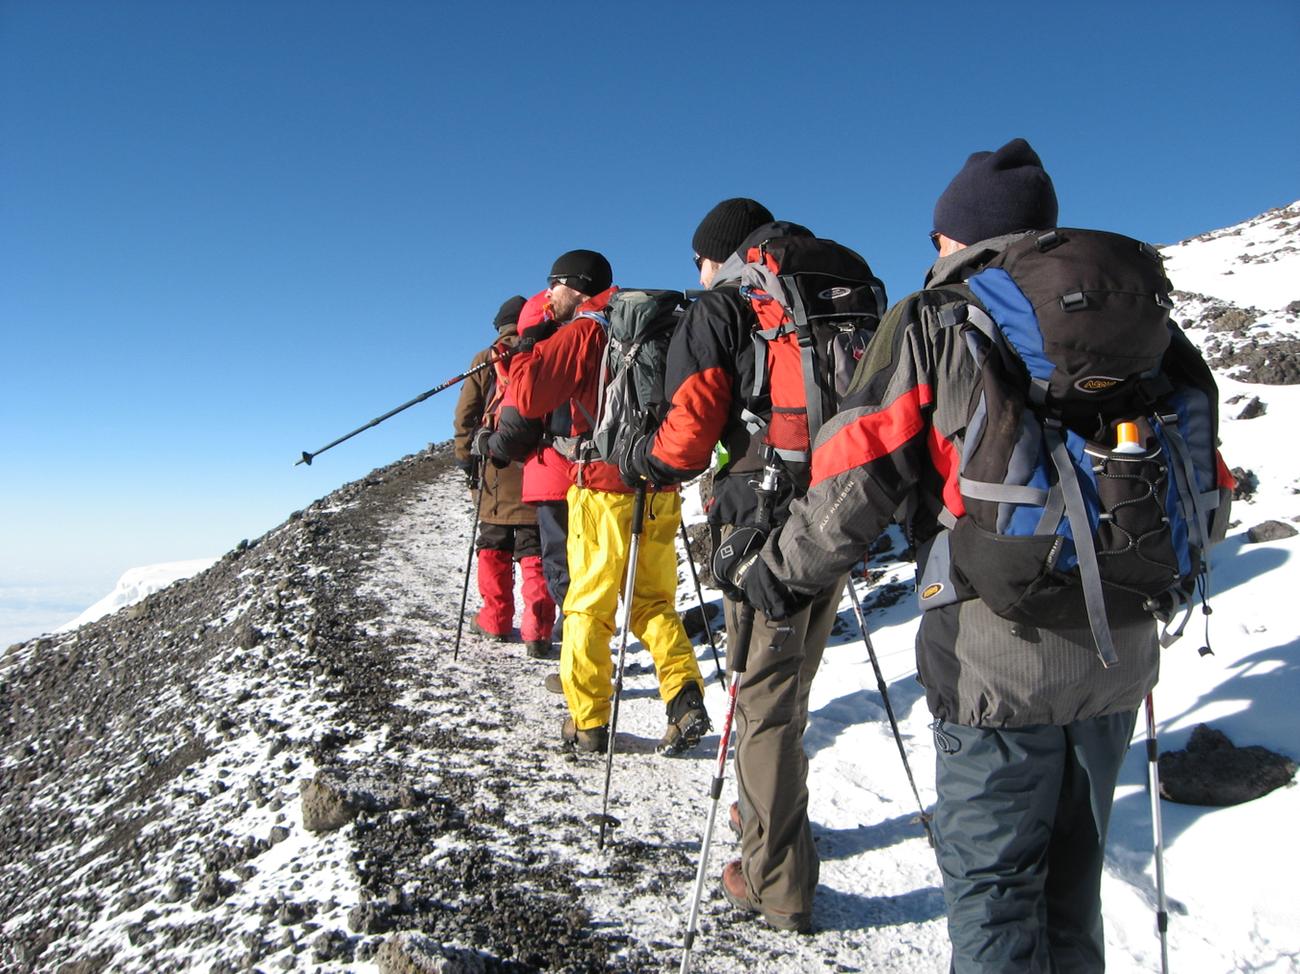
The Machame route is considered a difficult route, and is better suited for more adventurous trekkers and those with some hiking or backpacking experience.
The Machame route is scenically beautiful and varied. However, due to its popularity there are increased numbers of trekkers, it loses some of its splendour. The Machame route approaches the summit from the southwest and descends using the Mweka route, rewarding climbers with views of the expansive Shira Plateau, an optional scramble up Lava Tower, a climb up the Great Barranco wall, and a traverse underneath Kilimanjaro’s southern ice field.
In certain sections this route is steeper than the Marangu and Rongai routes and physically more demanding but is easier overall.
Great for acclimatization with lots of walk high, sleep low opportunities.
Challenging trek with stunning scenery through 5 diverse climatic zones.
Good opportunity to split pre-summit day climb to leave climbers rested before summiting.
Very popular trail.
Itinerary
Day 1: Pre-trek Briefing
If you have opted for optional airport transfers, we will pick you up from Kilimanjaro Airport or Arusha Airport and transfer you to your hotel in Moshi.
Pre-trek briefing at your Moshi hotel. You should plan to arrive at least one day before the start of the trek. Today, we will conduct a pre-trek briefing, review your equipment, and rent any necessary gear.
Day 2: Hotel to Machame Camp
Drive from Moshi to Machame Gate (about 45 minutes), passing through the village of Machame on the lower slopes of the mountain.
We start the trek through rainforest on a winding trail up a ridge. The lower elevations may be muddy and slippery, so gaiters and trekking poles are recommended. After a steady ascent, we reach Machame Camp.
Elevation: 1830m/6000ft → 3050m/9950ft
Distance: 11km/7mi
Hiking Time: 5-6 hours
Habitat: Montane Forest
Meals: Lunch & Dinner
Day 3: Machame Camp to Shira Camp
After breakfast, we leave the rainforest and continue along a rocky ridge, crossing a valley before ascending to Shira Camp. This area offers stunning views and is characterized by moorland vegetation.
Elevation: 3050m/9950ft → 3850m/12,600ft
Distance: 5km/3mi
Hiking Time: 4-5 hours
Habitat: Moorland
Meals: Breakfast, Lunch & Dinner
Day 4: Shira Camp to Lava Tower to Barafu Camp
Today is crucial for acclimatization. We hike to Lava Tower (4650m), where we stop for lunch. Then, instead of descending to Barranco Camp, we continue directly to Barafu Camp, following the South Circuit, which provides excellent views of Kibo Peak.
Elevation: 3850m/12,600ft → 4650m/15,250ft → 4700m/15,350ft
Distance: 12km/7.5mi
Hiking Time: 7-8 hours
Habitat: Alpine Desert
Meals: Breakfast, Lunch & Dinner
Day 5: Barafu Camp to Summit (Uhuru Peak) to Mweka Camp
We start our summit ascent around midnight. The steep climb follows a scree-covered path to Stella Point (5756m), where we rest briefly before continuing to Uhuru Peak (5895m), the highest point in Africa.
After celebrating at the summit, we descend to Barafu Camp for lunch and then continue down to Mweka Camp for overnight rest.
Elevation: 4700m/15,350ft → 5895m/19,340ft → 3090m/10,150ft
Distance: 5km/3mi up / 13km/8mi down
Hiking Time: 6-8 hours up / 5-6 hours down
Habitat: Ice-capped summit, Alpine Desert
Meals: Breakfast, Lunch & Dinner
Day 6: Mweka Camp to Mweka Gate to Hotel
After breakfast, we continue descending through the lush rainforest to Mweka Gate, where we receive summit certificates. A vehicle will be waiting to transfer you back to Moshi (1-hour drive).
Elevation: 3090m/10,150ft → 1680m/5500ft
Distance: 10km/6mi
Hiking Time: 3-4 hours
Habitat: Forest
Meals: Breakfast
Key Adjustments for 6 Days:
Combined Barranco and Karanga days into one, heading straight to Barafu for acclimatization.
Removed extra day at Karanga Camp to keep the trek within 6 days.
Maintained gradual ascent and acclimatization strategy for a safer summit attempt.
This itinerary provides proper acclimatization while ensuring a shorter trek duration. Let me know if you need any further modifications!

0 reviews for this Tour